
Whiteout Survival Canyon Clash
Canyon Clash in Whiteout Survival is a 60-minute battle between 3 alliances from different states in Lost Canyon. Each Chief commands 3 squads, spending Fuel to move and fight for buildings that produce alliance points. The main decisions are where to commit those squads, which routes to protect and when to save Fuel for the next objective. Checked in November 2026.
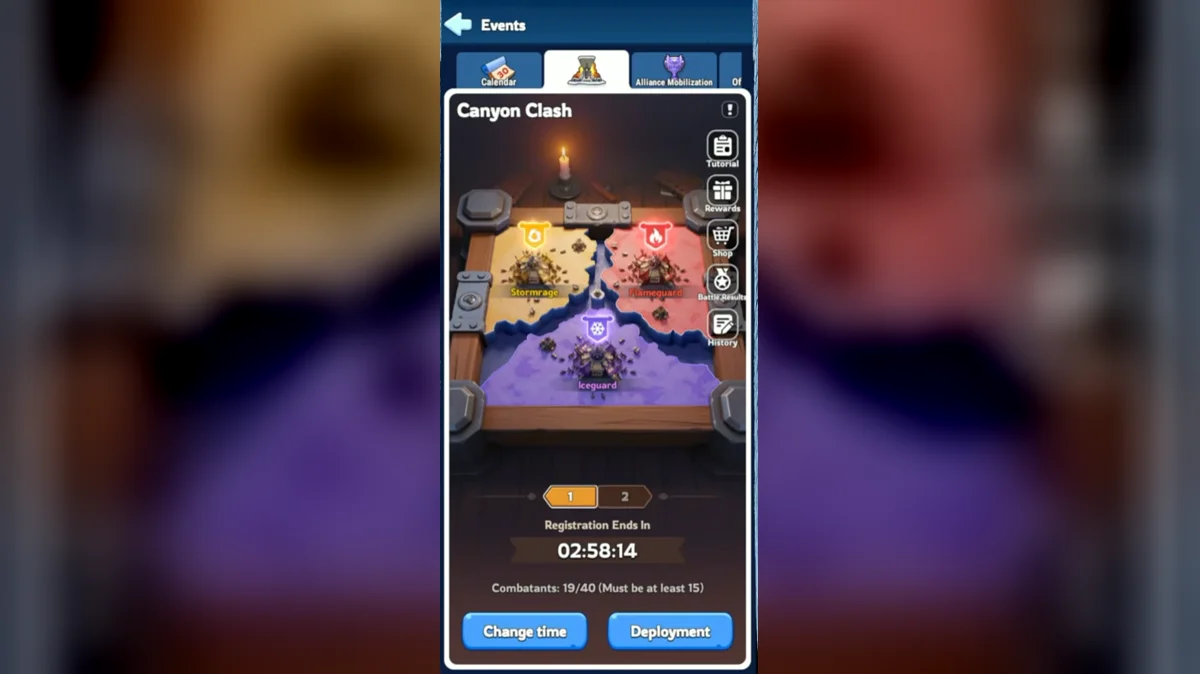
Map Routes and Buildings
Lost Canyon has three faction regions around the Frozen Citadel. Stormrage starts at the upper left, Flameguard at the upper right and Iceguard at the bottom. Locate your Bastion first, then trace the routes toward nearby scoring buildings and the crossings that connect territories.
The Bastion serves as the starting location and revival point for defeated squads. Airports provide crossings between territories and toward the center. Those routes matter even when an Airport's own point rate looks small: the building's position can support the movement your legion needs for a later central fight.
Building combat takes place through queued duels. A duel lasts 10 seconds at ordinary buildings and 5 seconds at the Frozen Citadel. Think about who is already queued before committing another squad: arrival does not mean your army will immediately hit the defender you were watching.
Guide advice favors coordinated attacks rather than repeated solo attempts. Tell the legion where your squads are and where they can move next. A strong march arriving alone can use Fuel without achieving a capture, while a planned group can work toward the same final defender.
Building Points
Alliance points decide the winner at the end. Buildings have different ongoing rates, so holding a location matters as well as capturing it. These per-minute rates help compare the value of continued control; a Fortress also provides extra end-of-battle points.
| Building | Alliance points per minute |
|---|---|
| Frozen Citadel | 1,800 |
| Fortress | 1,800 |
| Bastion | 1,800 |
| Cluster of Ruins | 600 |
| Ruins | 180 |
| Stronghold | 60 |
| Airport | 60 |
Do not plan only around the largest row. Routes and nearby controlled buildings determine how your squads reach and support the next fight. Guides recommend sending the strongest squad to the Frozen Citadel once it opens while the other squads protect important approaches.
That division gives the remaining roster a specific task. Defending a crossing or another key location supports the central push instead of competing with it for attention. Keep watching the alliance score as the match advances, because a busy fight is useful only if it improves your team's position.
Fuel and Guardians
Fuel pays for deployment, activation, conscription, advance, retreat and instant revival. It regenerates over time, and Guardian assignments provide additional Fuel income. A depleted reserve limits your next move even when your heroes and squads are otherwise ready.
Guides recommend avoiding unnecessary long trips and repeated instant revives when reserves run low. Before choosing either, check the destination and your role there. A short defensive assignment while Fuel recovers can leave more options for the next coordinated attack than another immediate return to a fight your squad cannot finish.
Guardian income depends on the building role. Treat the rate shown in the current building panel as your planning figure, then compare it with the costs of the actions you expect to take. The Frozen Citadel has no Guardian assignment, so reaching the center does not create that extra Fuel role.
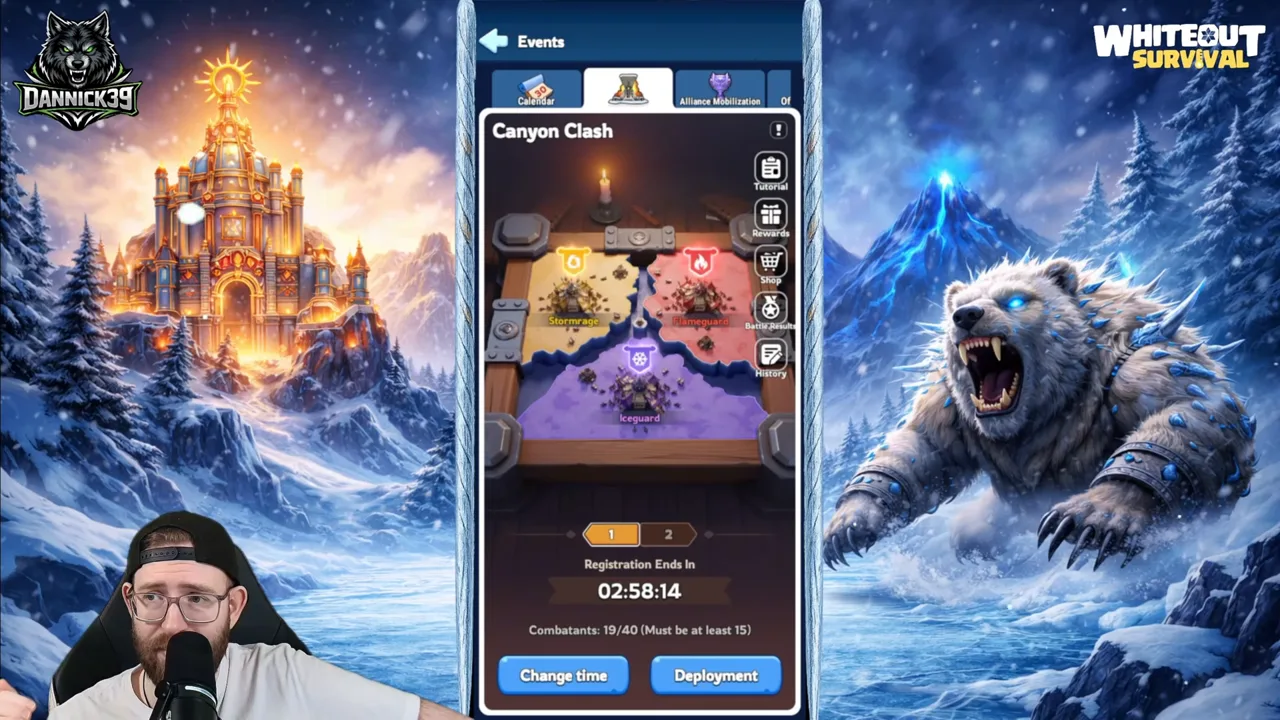
The video goes through Canyon Clash registration, the map and its buildings, and how teams score during the battle.
Best Heroes and Formations
Guides give Flint, Mia and Alonso as an attacking example for a generation-three roster. Sergey, Molly and Bahiti form a defensive example. These are role examples for that roster stage, rather than a promise that the same heroes are best for every later state.
Choose which squad will contest the center and which will defend routes before filling the hero slots. Compare the examples with your built heroes using the hero tier list. If you are still learning the roster timeline, the generation overview helps put an older example in context.
The mode uses fixed troop counts in its guide examples: 100,000 Infantry, 100,000 Lancers and 100,000 Marksmen per squad. Do not import a percentage recommendation from a normal march without checking the Canyon squad screen. Its formation task is choosing heroes and assigning squads to jobs under this event's rules.
Searches for generation-eight, generation-nine and generation-ten formations still lead to the same practical starting decision: an attacking squad and a defensive squad need roles. Compare the heroes you can actually field rather than substituting a generation number for a full lineup. The hero directory provides individual skill information for those choices.
Battle Stages
The hour has a preparation period followed by expanding objectives. Use the stage names and timers to decide when to move your main squad instead of spending all its Fuel on an opening target. The listed stage lengths total the full battle duration.
| Stage | Minutes |
|---|---|
| Preparations | 3 |
| Seize & Conquer | 17 |
| Fortress Occupation | 20 |
| Citadel Onslaught | 20 |
During Seize & Conquer, establish the nearby buildings and routes your legion intends to use. Fortress Occupation brings the next major objective, while Citadel Onslaught puts the central destination into the plan. Guides recommend protecting the important approaches with secondary squads as the strongest army moves inward.
Before each transition, check where your squads will revive if defeated and how much Fuel is available for another deployment. Communicate those limits before an officer calls the next push. A squad that is available on the roster may still be unable to perform every action the plan requires.
Schedule and Registration
The alliance must rank in the top 20, and members need Furnace level 16. A legion requires at least 15 registered combatants and substitutes combined. The roster allows 30 combatants and 10 substitutes per legion.
The second legion opens at alliance level 6 with 40 members active during the week. Both legions enter separate battlefields. Confirm your assignment with an officer instead of assuming the first selected time applies to every roster.
Use the current event window for the cycle and voting, registration, matching and battle days. Coordinate the displayed time with the events calendar. This avoids planning a fixed weekday around a different schedule from the one your state currently displays.
Lost Coin is the event-shop currency. Personal reward requirements can be 5,000 or 10,000 Personal Merits depending on the server, so read your reward panel before deciding that your score is enough.
Frequently Asked Questions
Does Canyon Clash kill my real troops?
Canyon Clash does not damage your actual city troops. Defeated squads return through the battlefield revival system instead of leaving you with a city army to rebuild. That makes the mode different from ordinary state combat, although wasted revives still spend Fuel and reduce what your 3 squads can do during the match.
Can I be Guardian of several buildings?
A Chief can be Guardian of only 1 building at a time. R4 officers can appoint Guardians, and a Chief garrisoned in a building can also self-appoint. Coordinate that assignment with the legion so members know which location each Guardian is covering and can plan their next Fuel use around the role.
Why can I not advance or retreat in a queue?
Advance and retreat depend on the friendly squad queue reaching the required size. Check the building queue and the action prompt in the current match before spending Fuel on another action. Troops waiting for their duel cannot simply march away as if they were moving freely between empty buildings.
Can I leave Canyon Clash and enter again?
Leaving starts a 12-minute return cooldown. During a 60-minute battle, that can remove you from a substantial objective fight. Let your legion know before leaving, particularly if you are holding a route or have an assigned Guardian role, so the remaining squads can cover the gap.
Does Legion 2 determine the alliance rewards?
The alliance reward result uses Legion 1 ranking. Legion 2 enters a separate battlefield and does not overwrite that result. Your own Personal Merits are another condition to watch: check the personal reward panel for the requirement attached to your event instead of assuming an alliance placement alone qualifies every registered member.
Read Next
Compare building income in Foundry Battle, prepare a lane roster for Alliance Championship, or review leadership jobs in the alliance guide.