
Whiteout Survival Crazy Joe Guide
Crazy Joe sends bandit waves at alliance Cities and the Alliance HQ in Whiteout Survival. Stay online for Elite Bandits, reinforce allies for extra Defense Points and move the assigned HQ march only after its current City has been defended. Checked in November 2026.
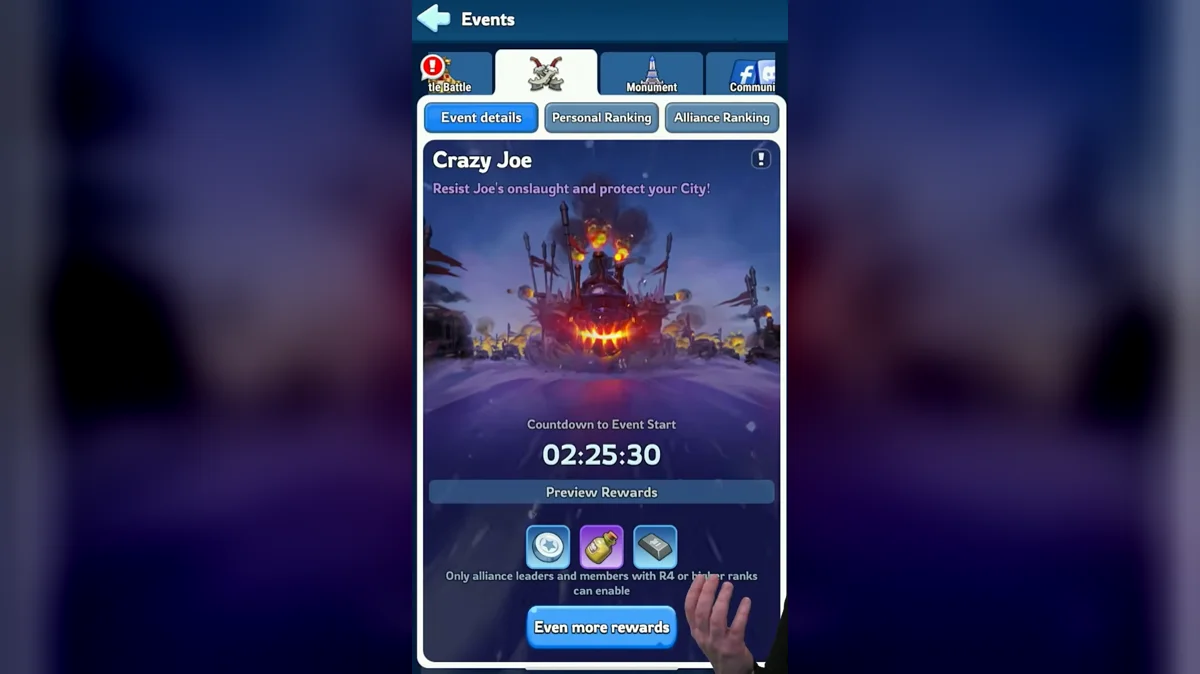
Wave Targets and Timing
Crazy Joe is an alliance defense event. Guides schedule it on Tuesday and Thursday during State of Power, King of Icefield or Hall of Chiefs weeks. Those are separate sessions, not one uninterrupted event from Tuesday through Thursday. Your officers choose the start time, so the weekday alone is not enough to know when troops must be ready.
The wave target determines your next action. Ordinary attacks go to eligible Cities, Elite Bandits select online Chiefs and the two HQ attacks require a different destination. Use the full wave list below when following the event. A City that has already lost enough defenses is excluded from later City attacks.
| Wave | Target |
|---|---|
| 1 | Eligible member Cities |
| 2 | Eligible member Cities |
| 3 | Eligible member Cities |
| 4 | Eligible member Cities |
| 5 | Eligible member Cities |
| 6 | Eligible member Cities |
| 7 | Online Chiefs only |
| 8 | Eligible member Cities |
| 9 | Eligible member Cities |
| 10 | Alliance HQ |
| 11 | Eligible member Cities |
| 12 | Eligible member Cities |
| 13 | Eligible member Cities |
| 14 | Online Chiefs only |
| 15 | Eligible member Cities |
| 16 | Eligible member Cities |
| 17 | Online Chiefs only |
| 18 | Eligible member Cities |
| 19 | Eligible member Cities |
| 20 | Alliance HQ |
Defense and Reinforcement Points
A successful defense requires killing at least 50% of the attacking troops. The City defender's points are not reduced when allies help. Reinforcements can earn additional points equal to 50% of the defeats, shared through the kills those reinforcements make. More supporting marches do not each receive the entire extra pool.
This makes reinforcement placement a scoring decision as well as a survival decision. A heavily crowded City splits the available reinforcement kills among more participants. Guides recommend spreading troops across suitable allies instead of piling every march into the same target. Coordinate who covers each City before the first attack, then use battle reports to see where the kills actually went.
The example below applies only to difficulty eleven. It illustrates the relationship between City defense points and the total reinforcement pool on Elite waves; it is not a universal point chart for every difficulty. Keep the difficulty label with the numbers when comparing a report or sharing them in alliance chat.
| Difficulty | Elite wave | City points | Total reinforcement points |
|---|---|---|---|
| 11 | 7 | 30,600 | 15,300 |
| 11 | 14 | 55,800 | 27,900 |
| 11 | 17 | 66,600 | 33,300 |
Separate the defender's result from the reinforcer's share when reviewing performance. A large City total does not mean every visiting march earned the same points. If your troops barely participated in the kills, moving them to a less crowded defense may be more useful next session. Start with the actual report before changing hero development or troop allocation.
HQ Strategy and Troop Ratio
HQ defense is its own assignment, not an extension of whichever City march you happen to have open. Guides recommend recalling an assigned strong march after the preceding City wave lands, then moving it to headquarters. Check that the City you are defending has actually received its attack before recalling; an early departure leaves that defense without the troops it expected.
Infantry-heavy and Lancer-heavy recommendations serve different accounts and difficulties. Guides use both 90/10/0 and 30/70/0 Infantry, Lancer and Marksman starting points. At higher difficulties, Marksmen can contribute meaningful kills, especially on the final HQ wave. Choose from the battle report and officer assignment rather than treating one ratio as the event's permanent formula.
Difficulty options depend on State progression. Check the selection window for the levels your alliance can use, then compare the last session's survival and kills before raising it. A higher number alone does not tell an officer that enough Cities can complete the next run. Review the late waves and HQ result together.
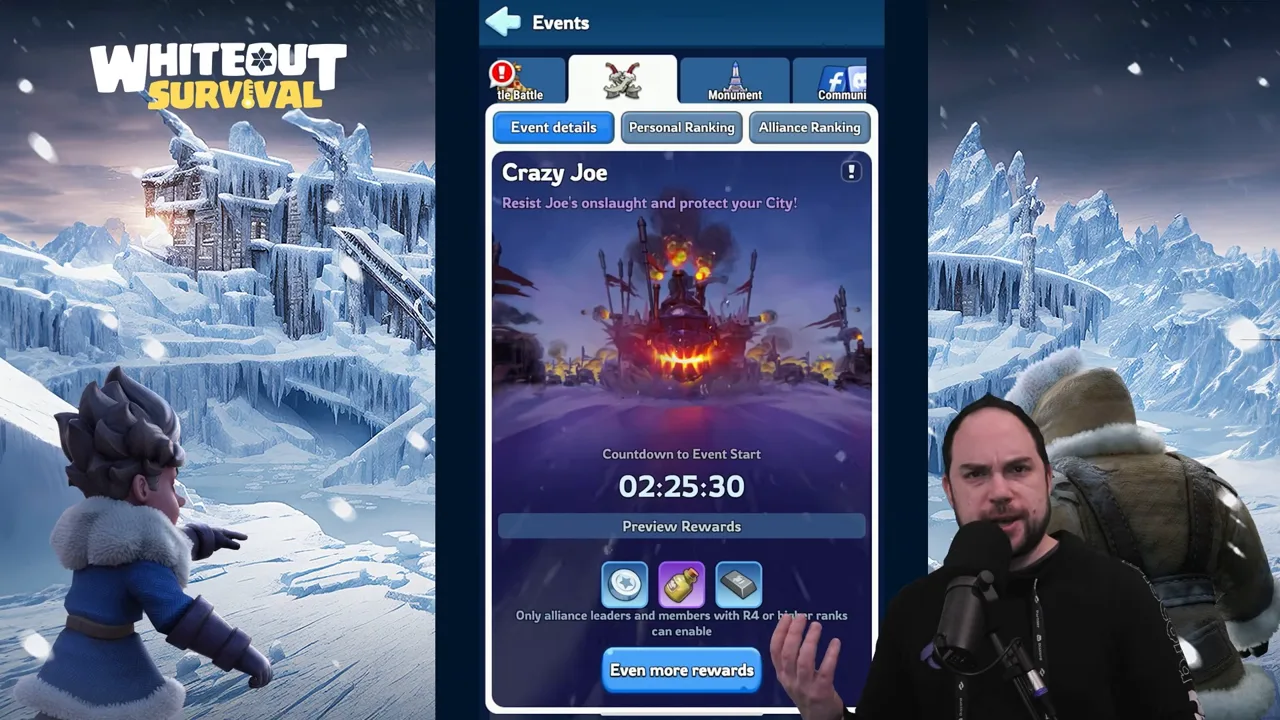
The video shows the Crazy Joe event screen, the wave rules and how reinforcing allies adds to your points.
Heroes and Combat Buffs
Choose heroes for the task your march must perform. A kill-focused reinforcement wants damage from its first Expedition skill, while an officer assigning a difficult defense also needs the march to survive. Guides recommend damage first skills when optimizing reinforcement kills and caution against automatically leading those marches with Sergey or Patrick just for their defensive benefits.
That advice is not a universal ban on either hero. It describes a scoring goal: damage reduction or extra health does not necessarily produce more kills for the visiting march. Compare which troops reached combat and which hero skill helped that particular defense before replacing a built hero. The hero tier list gives broader context, while troop ratios explain how troop selection changes a march.
Do not carry a Bear Hunt formation into Joe merely because it leads damage on the bear. Joe attacks back, splits targets by wave and changes where reinforcement kills are available. Confirm your destination, hero order and assigned troop types before dispatch. That checklist is more useful than copying an unrelated damage screenshot.
Milestones and Gear Rewards
Milestone rewards require both personal and alliance point thresholds. Hitting the personal line does not complete the alliance line, and a strong alliance total does not substitute for your own requirement. The table preserves each listed milestone so you can identify the next reachable reward without confusing the two counters.
| Milestone | Personal points | Alliance points | Rewards |
|---|---|---|---|
| 1 | 3,000 | 300,000 | 2,000 Alliance Token |
| 2 | 6,000 | 900,000 | 3,000 Alliance Token |
| 3 | 12,000 | 2,400,000 | 4,000 Alliance Token |
| 4 | 18,000 | 4,500,000 | 5,000 Alliance Token |
| 5 | 30,000 | 9,000,000 | 6,000 Alliance Token |
| 6 | 40,000 | 12,000,000 | 7,000 Alliance Token |
| 7 | 50,000 | 15,000,000 | 8,000 Alliance Token |
| 8 | 60,000 | 18,000,000 | 9,000 Alliance Token |
| 9 | 70,000 | 21,000,000 | 10,000 Alliance Token |
| 10 | 80,000 | 24,000,000 | 11,000 Alliance Token |
| 11 | 100,000 | 27,000,000 | 2 Polishing Solution |
| 12 | 150,000 | 30,000,000 | 200 Hardened Alloy |
| 13 | 200,000 | 33,000,000 | 1 Design Plans |
| 14 | 300,000 | 36,000,000 | 3 Polishing Solution |
| 15 | 400,000 | 39,000,000 | 300 Hardened Alloy |
| 16 | 600,000 | 42,000,000 | 1 Design Plans |
| 17 | 800,000 | 45,000,000 | 5 Polishing Solution |
| 18 | 1,000,000 | 48,000,000 | 500 Hardened Alloy |
| 19 | 1,500,000 | 51,000,000 | 1 Design Plans |
| 20 | 2,000,000 | 54,000,000 | 1 Chief Gear Materials Chest |
| 21 | 2,300,000 | 57,000,000 | 5 Polishing Solution |
| 22 | 2,600,000 | 60,000,000 | 500 Hardened Alloy |
| 23 | 2,900,000 | 63,000,000 | 1 Design Plans |
| 24 | 3,200,000 | 66,000,000 | 5 Polishing Solution |
| 25 | 3,500,000 | 69,000,000 | 500 Hardened Alloy |
| 26 | 3,800,000 | 72,000,000 | 1 Design Plans |
| 27 | 4,100,000 | 75,000,000 | 5 Polishing Solution |
| 28 | 4,400,000 | 78,000,000 | 500 Hardened Alloy |
| 29 | 4,700,000 | 81,000,000 | 1 Design Plans |
| 30 | 5,000,000 | 84,000,000 | 1 Chief Gear Materials Chest |
Stay in your alliance until reward distribution is complete. Alliance Ranking Rewards depend on membership at distribution, so an immediate move after the final wave can cost that payout. Use the event's reward window for delivery timing rather than a fixed countdown copied from a different session.
Before the Next Session
Guides recommend arranging troop swaps hours before the start. Confirm which allies will be online, distribute reinforcements and identify the march that will move to HQ. After the event, review one early City defense, an Elite wave and the final HQ report. Those reports answer different questions about survival, participation and the troops that secured kills.
Keep changes focused. If your reinforcement barely scored because too many troops shared the same City, first adjust coverage. If the HQ struggled, review its composition and captain with officers. If you missed an online-only attack, improve the session reminder. Each fix addresses a visible result instead of forcing every player to rebuild around a single ratio.
Frequently Asked Questions
How do you unlock Crazy Joe?
Join an alliance and reach Furnace level 7 to participate. The alliance also needs a built HQ to launch the event, and an R4 or R5 sets the start. Reaching the Furnace requirement by itself does not start a personal run, so ask officers which session and headquarters your alliance is using.
How long is Crazy Joe?
A session takes about 40 minutes, with 20 attacks rather than a single continuous battle. The alliance start time controls when that session begins. Plan enough time to remain available through the final HQ wave, particularly if other members depend on your march returning from a City before it can reinforce headquarters.
Does Crazy Joe stop after two consecutive losses?
Two failed defenses stop further attacks on your City; the rule does not require those defeats to be consecutive. You can still reinforce allies afterward for Defense Points. A City no longer being targeted therefore does not end the player's ability to participate, although other Cities and the HQ still need organized support.
Which HQ does Crazy Joe attack?
Crazy Joe targets Tundra HQ first. If the alliance has no Tundra HQ placed, the target is Icefield HQ. Check the actual building before sending a reinforcement march. Having both names in alliance chat can cause confusion, especially when players use an older saved position or join a session after officers have announced assignments.
Are Polishing Solution rewards for Hero Gear?
Polishing Solution, Hardened Alloy and Design Plans are Chief Gear materials. They belong to a different upgrade system from Hero Gear. Before choosing an upgrade after Crazy Joe, open Chief Gear and inspect the needed materials rather than looking for these rewards in the equipment slots on an individual hero.
Read Next
Compare the timing with the Events schedule, plan State of Power preparation, or use the Chief Gear guide to spend defense rewards.