
Whiteout Survival Beginner Guide
Your first days in Whiteout Survival come down to four jobs: follow the Chapter Missions, keep the Furnace upgrading, join an active alliance and spend speedups and gems on purpose. Aim for Furnace 25 first and then work toward Furnace 30, level only the heroes you will use, and keep your camps training. Free players can do all of this without paying. Checked in November 2026.
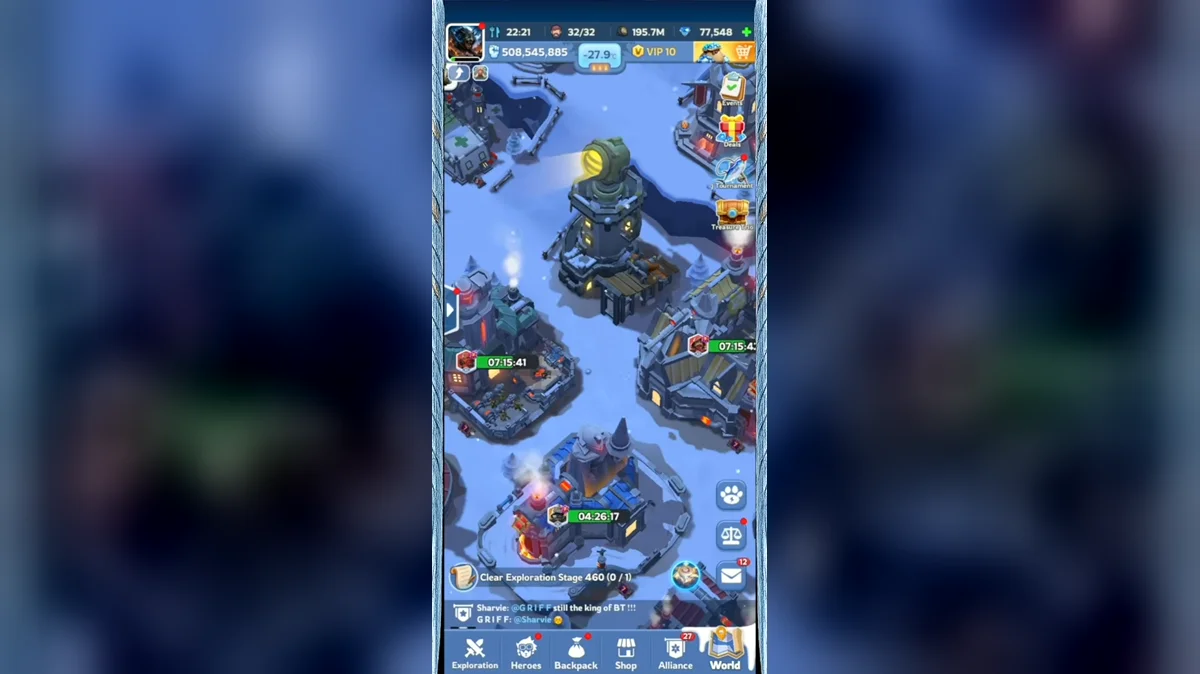
First Days Priorities
A new account has a lot of buttons and very little time. Put your attention on the few things that pay back every day, and leave the rest until the Furnace opens it.
- Chapter Missions. Start every session here. They show you what to build or do next and give rewards that carry your first upgrades, so follow them before you spend on side upgrades.
- The Furnace. It decides what you can unlock and how high your other buildings can go. Look at the next Furnace level before each session and upgrade the buildings it requires.
- An alliance. Join one early. Alliance Help reduces your building and research timers, and the alliance opens Bear Hunt and other group events.
- Training and gathering. Keep your camps training and send idle marches to gather, so resources and troops keep coming while you do other things.
You do not need to upgrade every building equally. Put resources into the buildings that matter, and let the rest follow when the Furnace calls for them. The buildings guide explains what each building does and when it unlocks.
Furnace Targets for the First Week
Players give the same target again and again: build the Furnace to level 25 as fast as you can, then grow steadily toward level 30. Treat it as a direction, not a deadline. How quickly you get there depends on speedups, alliance help and Construction Speed, and the game does not promise a timetable.
Plan each Furnace upgrade around what the next level asks for. The Furnace needs other buildings at set levels, and from level 11 on the Embassy is one of them every time. The Furnace guide lists every requirement, cost and build time from level 1 to level 30, and the table below shows when the main systems open for you.
| Furnace level | What opens |
|---|---|
| 9 | Research Center |
| 10 | Command Center |
| 15 | Hero Gear |
| 18 | Pets |
| 19 | Daybreak Island |
| 20 | Mastery Forging |
| 22 | Chief Gear |
| 25 | Chief Gear Charm |
| 25 | Experts |
Hero Gear arrives at level 15, pets at level 18 and Chief Gear at level 22, so a Furnace near level 25 opens most of what a beginner needs. Pets and experts also wait for the age of your state, which the pets guide and the experts guide explain.
Research Early
The Research Center opens at Furnace level 9 and has three tabs: Growth, Economy, Battle. Players favor useful Growth and Economy technologies early and develop Battle technologies for their role later, so your city grows before your army does. Keep a research running whenever you can, the same way you keep the Furnace upgrading.
The research guide goes through the order of the key technologies.
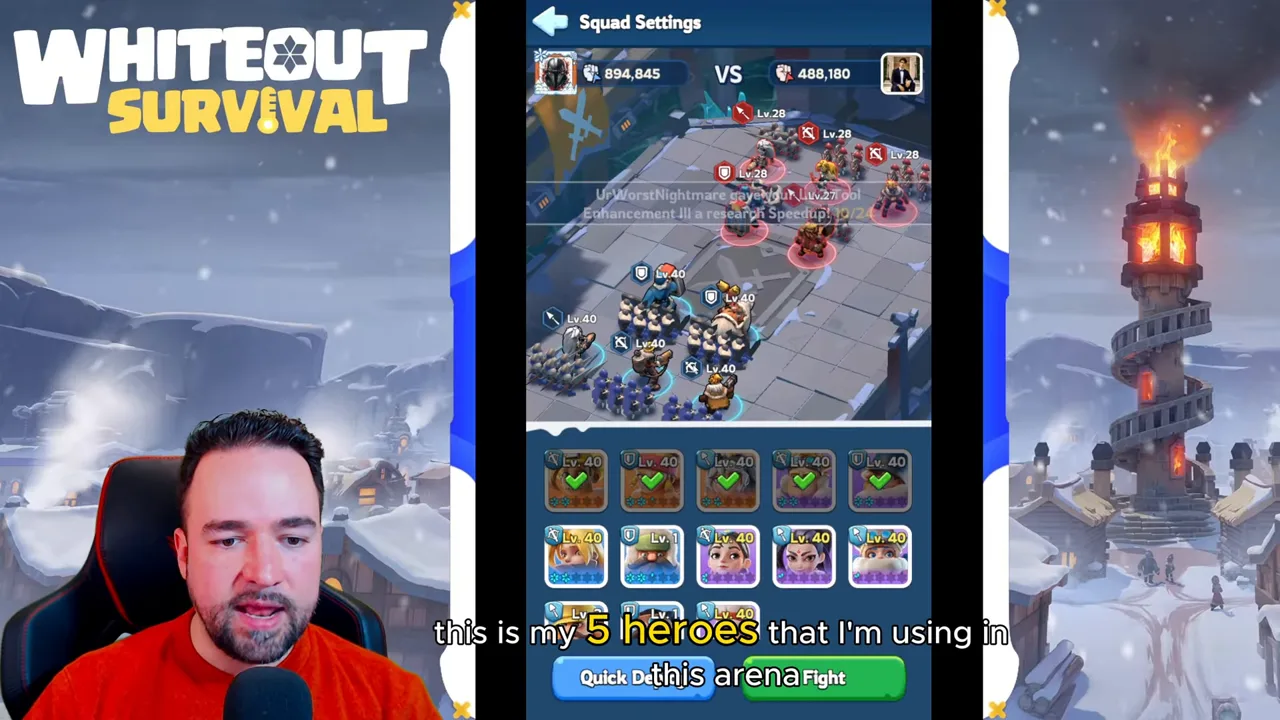
The video is a new player guide that goes through the first days on a fresh account: what to build, which heroes to use and how to grow without spending.
Which Heroes to Level First
Do not try to level every hero. Skill materials are limited, so concentrate them on heroes you will use in your march, and keep the rest as they are. Early free players commonly run Sergey, Molly, Bahiti as their march core until the next generation of heroes arrives.
- Molly. A free Lancer hero. Her shards come from the 7-day sign-in gift, Lighthouse Intel and Hero Recruitment. All six of her skills are combat effects.
- Sergey. An accessible early Infantry hero that is useful on defense.
- Bahiti. The Marksman of the early core.
- Jessie. A Lancer who is useful for joining attack rallies.
- Gina. Reduces the Stamina cost of hunting Beasts and Polar Terrors.
An early Arena team that players suggest is Sergey, Jessie, Bahiti, Molly, Gina, with the first two on the front line and the last three at the back. See the hero tier list for the ranking by generation, the hero leveling guide for what each star and level costs, and the heroes list for every way to get shards. The pages for Molly, Sergey and Bahiti cover their skills.
Join an Alliance Early
Join an active alliance as soon as you can. Members help each other with building and research timers, and the alliance opens group events such as Bear Hunt, where members rally the bear and the rewards depend on personal and alliance damage. The Bear Hunt guide shows how to prepare.
Choose an alliance with organized leadership and real event participation. Look for members who are online and helping, and avoid a small alliance that is quietly losing members. The alliance guide explains ranks, tech and how help works.
Speedups and Gems
Speedups are strongest when an event scores them. Plan your large spending of resources and speedups for an event that rewards that activity, rather than using them the moment you have them. Gems follow the same rule: do not spend them on one-off purchases that make you feel fast for a day.
- Gems. Players save them for Lucky Wheel heroes and keep Mythic General Hero Shards for future generations.
- Speedups. Save the big ones for events that count them, and for the long Furnace upgrades.
- Resources. Resources above the Storehouse protection limit can be plundered, so spend your stock when you can instead of letting it sit exposed. The Whiteout Survival calculator shows the protection limits.
The VIP guide shows what to spend gems on if you do spend, and the resources guide covers where your Meat, Wood, Coal and Iron come from.
Common Beginner Mistakes
Most slow progress comes from how you spend, not from a lack of resources. These five mistakes show up again and again:
- Focus resources on important buildings instead of upgrading everything equally.
- Concentrate limited skill materials on heroes useful for your activities.
- Schedule major resource and speedup spending for an event that scores it.
- City resources above the Storehouse protection limit can be plundered.
- Join an active alliance as soon as possible.
Daily Routine for F2P Players
A short, organized session every day gives noticeable progress. A routine that fits in a few minutes:
- Claim daily mission rewards and free recruitment.
- Keep camps training during normal progression.
- Send idle marches to gather resources regularly.
- Help alliance members with timers.
- Check Infirmary capacity and heal severely injured troops.
Gift codes are free resources, so redeem them early. You find your Player ID by tapping your avatar at the top left of the game, and the Gift Code Center asks for Player ID, State, Enter Gift Code. Rewards arrive in the in-game mail of the character you redeemed for. The codes page has the current list.
Frequently Asked Questions
What should I do first in Whiteout Survival?
Follow the Chapter Missions. They teach each mechanic as it opens and pay rewards that keep your first upgrades moving. Alongside them, read the requirements of the next Furnace level and upgrade only the buildings it asks for. Join an active alliance as soon as you can, because Alliance Help cuts building and research timers.
How fast should I upgrade the Furnace?
Players advise building the Furnace to level 25 as quickly as you can and then growing steadily toward level 30. This is advice, not a rule of the game, and your pace depends on speedups, alliance help and Construction Speed. The Furnace also sets the cap for your other buildings, so every extra level opens more of the city.
Which heroes should a beginner level first?
Most free players start with Sergey, Molly, Bahiti. Sergey is an accessible Infantry hero for defense, Molly is a free Lancer, and Bahiti is a Marksman. Put your limited skill materials into a few heroes you actually use instead of spreading them across the roster, and read the tier list when new heroes arrive.
Is Whiteout Survival free to play?
Yes, you can play and progress without paying. Free players get heroes from Lighthouse Intel, Hero Recruitment and the 7-day sign-in gift, plus rewards from Chapter Missions, daily missions and gift codes. Save gems for the Lucky Wheel heroes you want, avoid impulse buys, and use speedups at the moments they do the most.
What are the biggest beginner mistakes?
Upgrading every building equally, leveling every hero a little, spending speedups when no event scores them, and leaving resources above the Storehouse protection limit where raiders can take them. Playing without an alliance is a costly mistake too. Focus the Furnace, your camps and the Research Center first.
How do I redeem gift codes as a new player?
Open your avatar in the top-left corner of the game to find your Player ID, then enter the ID, your State and the code on the official Gift Code Center page. Rewards arrive in the in-game mail of the character you redeemed for. The current working list is on the codes page.
Read Next
Plan your upgrades with the Furnace guide, choose your first heroes from the tier list, and grab the free rewards on the codes page. Every other guide is linked from the guides page.